Good morning, and happy Tuesday my friends! I’d like to start with gratitude, and declaring this a thankful, thoughtful Tuesday.
Today I would like to get into the beginnings of yoga physically, since I have talked a lot on spirituality – reason being I went from “me,” to a straight up 24/7 Spiritual Gangster. However, I know a lot of you are eager to get to the physical aspect, so let’s get started!
Child’s pose – this is where we begin and at any time during practice I urge you to come back here if your body isn’t working with you. I want to make it so clear that regardless of whether you are full-throttle or simply still, you reap all the benefits.
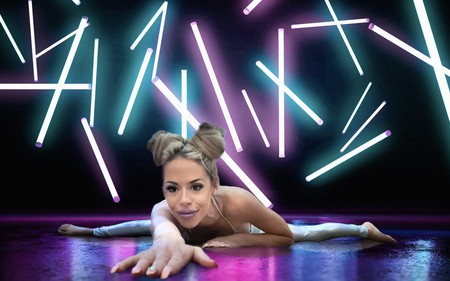
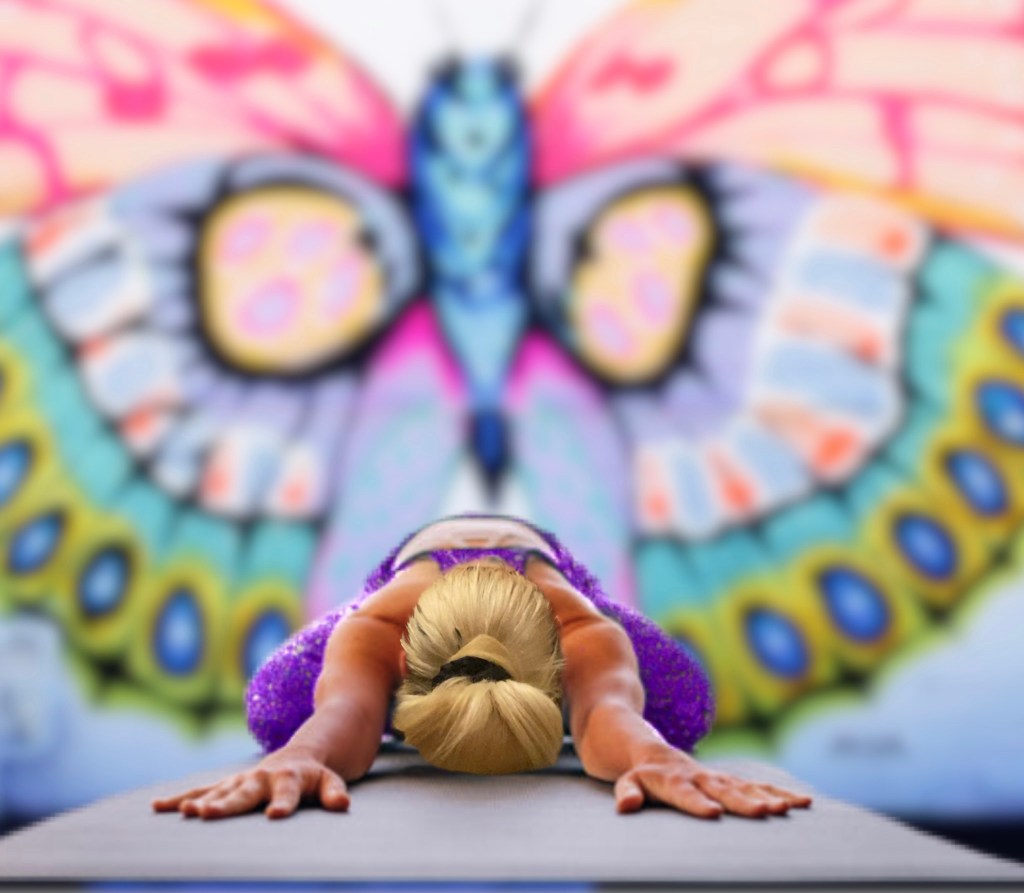
As this is our starting pose (mine at least), I will post a photo below and most likely the first thought in your mind is ok…next. Not so fast. There are so many different aspects to postures that seem mundane or simple, everyday easy resting poses, that have nothing to do with yoga. In child’s pose – you have variations as well. So let’s get into that. {Child’s Pose is ‘Balasana,’ (anytime you see the suffix -asana or -sana, it’s an ASANA, (as well as a counter asana), so don’t let the ease of the photo make you quick to just lay there as it looks}. Furthermore to speak as to it being an asana, and counter asana, let your mind remember that it actually does something (i.e. stretching, calming the mind) rather than just getting you ready for practice (hence why I say you do reap the benefits of anything, no matter how simple it may seem). It is actually a forward bend, and restorative pose. Child’s pose stretches your body (extending the arm you can reach your fingers towards the edge of the mat and feel a wonderful deep back/shoulder stretch). Also, 3 main areas you may be surprised about that are engaged, include (but not limited to) the hips, thigh, ankle.

To start, let me explain the correct way to do Balasana, Child’s Pose:
1. Kneel on the floor, touching the big toes whilst sitting on your heels. Begin to separate the knees approximately as wide as the hips.
2. Now lay your torso forward and down between thighs as you EXHALE (breathwork is crucial in all poses, whether you should be inhaling or exhaling). – Narrow your hip points toward your navel (bellybutton), as you broaden your sacrum (low back) across the back of your pelvis. You should feel that nice opening stretch. If you have low back problems, it’s great to do this anytime throughout the day and just relax.
3. You should be nestled in between your inner thighs, and lengthen the tailbone as far as feels good. (Never push your body past it’s limits, as always).
4. Lift the bottom/base of the skull away from the bottom of the neck. Picture this as your vertebrae stretching, creating that space in between. (Also great for cervical and thoracic pain, disc issues, etc.)
5. Lay your hands out it front of you, palms facing up, or back behind you, palms facing down. (Your choice). (Reiteration: Child’s pose is a kneeling pose, and you may either take your arms out in front of you or back behind you. I say, do both and choose which feels best. There’s no wrong or right choice in which direction you choose to extend the arms. Just make sure you do.)
6. Release the front of your shoulders toward the floor, either way. If your arms are extended in front of you, you will most likely feel an “ahhhh” sensation, in your back, which is the widening of your shoulder blades across the back.
7. I recommend staying for 3 minutes. You won’t find this is all classes, but this is where I begin deep breathwork, inhaling as deep as you can go, maybe taking one more sip of air, and then exhaling with an audible H-A “HAAAA” sound. (For years I was too embarrassed to do that in studio). When you become a teacher or you learn that this practice is YOURS, you DO things that might normally feel embarrassing or weird. It’s a great benefit as you are clearing out the lungs, releasing that stale air from your body. Repeat these breaths at least 3-5 times. Take your time and inhale deep, exhale deep.
Child’s pose isn’t just laying there now is it?! Do these things so you can reap the benefits to the full extent.
Lastly, I will say to please READ these tips:
• This is NOT for prenatal yoga
• If you have knee issues you can modify the knees (such as Osgood-Schlatter 🙋♀️)
• If you have trouble resting on the heels, you may place a blanket or roll your mat up under them
• We never in daily life breathe back into our torso. This allows us to do that (hence the breathing exercises). Also, remember to stretch the vertebrae during inhale, and on each exhale (deep), go a little further into the forward fold (into that nestled spot between the thighs). This will help you with standing forward folds
•Set your intention! Use this as a time to shut off the mental chatter before your practice.
•Additional benefits: reduces stress and fatigue. Again, reduces back and neck pain.
•Can be sequenced between more challenging asanas/poses/flows.
•Lastly – I will emphasize this forever, never push the limits. You know your body best, trust it. No one is looking or comparing, I can assure you.
Until next time my friends, NAMASTE
